En este tutorial comprobaremos como instalar Kubernetes de forma sencilla con Ansible.
Índice de contenidos
- 1. Introducción
- 2. Entorno
- 3. Preparación y configuración del entorno
- 4. Comprobación
- 5. Conclusiones
- 6. Referencias
1. Introducción
Una de las cosas más importantes a la hora de tener una aplicación en producción es que esta esté disponible siempre para los usuarios. Kubernetes nos ofrece una buena infraestructura para aumentar la disponibilidad de nuestra aplicación.
2. Entorno
El tutorial está escrito usando el siguiente entorno:
- Hardware: Portátil MacBook Pro Retina 15′ (2.5 Ghz Intel Core I7, 16GB DDR3).
- Sistema Operativo: Mac OS El Capitán 10.11.2
- Virtual Box
- Vagrant 1.8.1
- Ansible 1.9.3
3. Preparación y configuración del entorno
En tutoriales anteriores ya se ha explicado como instalar Vagrant y Ansible (ver aquí), así que partimos de que ambas herramientas ya están instaladas.
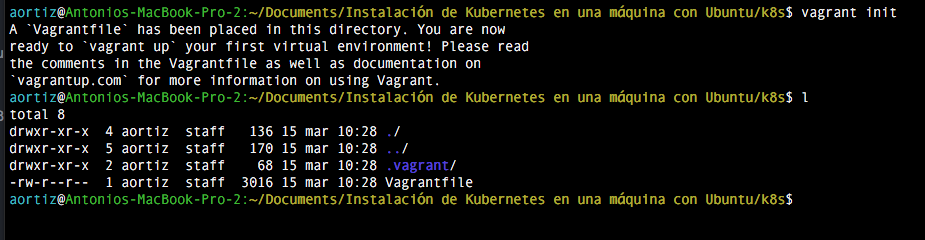
Recordamos que Vagrant es una herramienta que nos permite gestionar máquinas virtuales (usando en nuestro caso VirtualBox por debajo) y que Ansible nos permite automatizar tareas en host remotos via ssh. Vagrant y ansible están muy bien integrados, de forma que utilizaremos Vagrant para crear el entorno con un sistema operativo Ubuntu en el cual instalaremos y jugaremos con Kubernetes. Para ello nos creamos un directorio dónde se encontrará nuestro Vagrantfile, fichero de configuración de Vagrant. Para que se genere el fichero por defecto ejecutamos el comando vagrant init.
Nuestro fichero Vagrantfile debe quedar de la siguiente manera:
Vagrantfile
Vagrant.configure(2) do |config|

  config.vm.box = "ubuntu/trusty64"

  config.vm.network "forwarded_port", guest: 8080, host: 8080
  config.vm.network "forwarded_port", guest: 32066, host: 32066

  config.vm.network "private_network", ip: "192.168.90.20"

  config.vm.provider "virtualbox" do |v|
      v.memory = 4096
      v.cpus = 2
  end

  config.vm.define "prueba" do |prueba|
    prueba.vm.provision "ansible" do |ansible|
      ansible.verbose = 'vvv'
      ansible.playbook = "ansible/infraestructure.yml"
    end
  end
end
Analicemos que realizará este fichero de configuración:
- config.vm.box = “ubuntu/trusty64” : en este apartado indicamos la box que va a utilizar vagrant para crear la máquina virtual.
- config.vm.network “forwarded_port”, guest: 8080, host: 8080 : aquí redireccionamos el puerto de la máquina anfitrión a la máquina virtual de forma que cuando se llame al puerto 8080 de la máquina real esto será redireccionado al puerto 8080 de la máquina virtual. Esto nos sirve para ver la interfaz gráfica de Kubernetes.
- config.vm.network “private_network”, ip: “192.168.90.20” : en este apartado indicamos la ip que tendrá la máquina virtual.
- v.memory = 4096 : en este apartado la memoria que va a tenr la máquina virtual.
- Por último definimos el provisionamiento que Vagrant va a realizar en la máquina una vez esté levantada. Para ello uso el ya mencionado Ansible, pero notad que no le especifico en ningún lugar el inventory. Esto está hecho a propósito ya que Vagrant te lo genera automáticamente si no lo creas tú.
Ahora tenemos que crear el directorio Ansible dónde vamos a tener la siguiente estructura:
- infraestructure.yml: es el playbook principal que se encarga de instalar kubernetes.
- roles/docker/tasks/docker_install.yml : aquí se encuentran las tareas propias de la instalación docker.
- roles/docker/tasks/docker_prerequisites.yml : aquí están las tareas que necesitan ser ejecutadas para que se instale docker.
- roles/docker/tasks/docker_setup.yml : aquí están tareas propias de la configuración.
- roles/docker/tasks/main.yml : aquí se encuentran las tareas que se van a ejecutar en el rol de docker.
- roles/kubernetes/files/config-default.sh : es el fichero de configuración dónde se especifican las propiedades del cluster.
- roles/kubernetes/meta/main.yml : en este fichero se encuentran las dependencias del rol kubernetes.
- roles/kubernetes/tasks/main.yml : aquí definimos las tareas que se van a ejecutar en el rol kubernetes.
- roles/kubernetes/vars/main.yml : por ultimo definimos las variables propias del rol aquí.
3.1 Kubernetes
A continuación veremos el contenido del rol Kubernetes.
roles/kubernetes/files/config-default.sh
#!/bin/bash

# Copyright 2015 The Kubernetes Authors All rights reserved.
#
# Licensed under the Apache License, Version 2.0 (the "License");
# you may not use this file except in compliance with the License.
# You may obtain a copy of the License at
#
#     http://www.apache.org/licenses/LICENSE-2.0
#
# Unless required by applicable law or agreed to in writing, software
# distributed under the License is distributed on an "AS IS" BASIS,
# WITHOUT WARRANTIES OR CONDITIONS OF ANY KIND, either express or implied.
# See the License for the specific language governing permissions and
# limitations under the License.

## Contains configuration values for the Ubuntu cluster

# Define all your cluster nodes, MASTER node comes first"
# And separated with blank space like
export nodes=${nodes:-"root@127.0.0.1"}

# Define all your nodes role: a(master) or i(minion) or ai(both master and minion), must be the order same
role={roles:-"ai"}
# If it practically impossible to set an array as an environment variable
# from a script, so assume variable is a string then convert it to an array
export roles=($role)

# Define minion numbers
export NUM_NODES=${NUM_NODES:-1}
# define the IP range used for service cluster IPs.
# according to rfc 1918 ref: https://tools.ietf.org/html/rfc1918 choose a private ip range here.
export SERVICE_CLUSTER_IP_RANGE=${SERVICE_CLUSTER_IP_RANGE:-192.168.3.0/24}  # formerly PORTAL_NET
# define the IP range used for flannel overlay network, should not conflict with above SERVICE_CLUSTER_IP_RANGE

# The Ubuntu scripting supports two ways of networking: Flannel and
# CNI.  To use CNI: (1) put a CNI configuration file, whose basename
# is the configured network type plus ".conf", somewhere on the driver
# machine (the one running `kube-up.sh`) and set CNI_PLUGIN_CONF to a
# pathname of that file, (2) put one or more executable binaries on
# the driver machine and set CNI_PLUGIN_EXES to a space-separated list
# of their pathnames, and (3) set CNI_KUBELET_TRIGGER to identify an
# appropriate service on which to trigger the start and stop of the
# kubelet on non-master machines.  For (1) and (2) the pathnames may
# be relative, in which case they are relative to kubernetes/cluster.
# If either of CNI_PLUGIN_CONF or CNI_PLUGIN_EXES is undefined or has
# a zero length value then Flannel will be used instead of CNI.

export CNI_PLUGIN_CONF CNI_PLUGIN_EXES CNI_KUBELET_TRIGGER
CNI_PLUGIN_CONF=${CNI_PLUGIN_CONF:-""}
CNI_PLUGIN_EXES=${CNI_PLUGIN_EXES:-""}
CNI_KUBELET_TRIGGER=${CNI_KUBELET_TRIGGER:-networking}

# Flannel networking is used if CNI networking is not.  The following
# variable defines the CIDR block from which cluster addresses are
# drawn.
export FLANNEL_NET=${FLANNEL_NET:-172.16.0.0/16}

# Optionally add other contents to the Flannel configuration JSON
# object normally stored in etcd as /coreos.com/network/config.  Use
# JSON syntax suitable for insertion into a JSON object constructor
# after other field name:value pairs.  For example:
# FLANNEL_OTHER_NET_CONFIG=', "SubnetMin": "172.16.10.0", "SubnetMax": "172.16.90.0"'

export FLANNEL_OTHER_NET_CONFIG
FLANNEL_OTHER_NET_CONFIG=''

# Admission Controllers to invoke prior to persisting objects in cluster
export ADMISSION_CONTROL=NamespaceLifecycle,LimitRanger,ServiceAccount,ResourceQuota,SecurityContextDeny

# Path to the config file or directory of files of kubelet
export KUBELET_CONFIG=${KUBELET_CONFIG:-""}

# A port range to reserve for services with NodePort visibility
SERVICE_NODE_PORT_RANGE=${SERVICE_NODE_PORT_RANGE:-"30000-32767"}

# Optional: Enable node logging.
ENABLE_NODE_LOGGING=false
LOGGING_DESTINATION=${LOGGING_DESTINATION:-elasticsearch}

# Optional: When set to true, Elasticsearch and Kibana will be setup as part of the cluster bring up.
ENABLE_CLUSTER_LOGGING=false
ELASTICSEARCH_LOGGING_REPLICAS=${ELASTICSEARCH_LOGGING_REPLICAS:-1}

# Optional: When set to true, heapster, Influxdb and Grafana will be setup as part of the cluster bring up.
ENABLE_CLUSTER_MONITORING="${KUBE_ENABLE_CLUSTER_MONITORING:-true}"

# Extra options to set on the Docker command line.  This is useful for setting
# --insecure-registry for local registries.
DOCKER_OPTS=${DOCKER_OPTS:-""}

# Extra options to set on the kube-proxy command line.  This is useful
# for selecting the iptables proxy-mode, for example.
KUBE_PROXY_EXTRA_OPTS=${KUBE_PROXY_EXTRA_OPTS:-""}

# Optional: Install cluster DNS.
ENABLE_CLUSTER_DNS="${KUBE_ENABLE_CLUSTER_DNS:-true}"
# DNS_SERVER_IP must be a IP in SERVICE_CLUSTER_IP_RANGE
DNS_SERVER_IP=${DNS_SERVER_IP:-"192.168.3.10"}
DNS_DOMAIN=${DNS_DOMAIN:-"cluster.local"}
DNS_REPLICAS=${DNS_REPLICAS:-1}

# Optional: Install Kubernetes UI
ENABLE_CLUSTER_UI="${KUBE_ENABLE_CLUSTER_UI:-true}"

# Optional: Enable setting flags for kube-apiserver to turn on behavior in active-dev
#RUNTIME_CONFIG=""

# Optional: Add http or https proxy when download easy-rsa.
# Add envitonment variable separated with blank space like "http_proxy=http://10.x.x.x:8080 https_proxy=https://10.x.x.x:8443"
PROXY_SETTING=${PROXY_SETTING:-""}

DEBUG=${DEBUG:-"false"}
El fichero config-default se crea por defecto cuando descargas la versión de Kubernetes (se encuentra dentro del directorio kubernetes/cluster/ubuntu). Este fichero se encarga de establecer la configuración por defecto del cluster, como el número de nodos, sus respectivas ip y el número de minions y de maestros del cluster. Las propiedades que hemos modificado del fichero son:
- export nodes=${nodes:-“root@127.0.0.1”}: Con esta propiedad le indicamos los nodos que va a tener nuestro cluster. Como este es un ejemplo muy sencillo, tenemos un cluster de un único nodo, pero si tuviéramos más deberían de ir las ip aquí separadas por espacios.
- role={roles:-“ai”}: Aquí se separan los nodos por espacio y van en el mismo orden en el que hemos definido las ips en la propiedad anterior. a significa master, mientras que i significa minion de forma que estamos indicando que nuestro único nodo es master y minion a la vez.
- export NUM_NODES=${NUM_NODES:-1}: con esta propiedad indicamos que el número de minions que tiene nuestro cluster es 1.
En el siguiente fichero están descritas las tareas que se van a realizar en el playbook Kubernetes:
roles/kubernetes/tasks/main.yml
---

# file: roles/kubernetes/tasks/main.yml

- name: Create ssh key for this machine (Necesary to start kubernetes)
  user: name=root generate_ssh_key=yes
  register: user_var

- name: Add key to authorized keys
  shell: "cat /root/.ssh/id_rsa.pub >> /root/.ssh/authorized_keys"

- name: Download Kubernetes release bundle
  get_url: >
    url="https://github.com/GoogleCloudPlatform/kubernetes/releases/download/v1.2.0/kubernetes.tar.gz"
    dest="{{kubernetes.temporal_path}}/kubernetes.tar.gz"

- name: Untar the kubernetes bundle
  unarchive: >
    src="{{kubernetes.temporal_path}}/kubernetes.tar.gz"
    dest={{kubernetes.path}} copy=no

- name: Unarchive salbase tar to configure the cluster.
  unarchive: >-
    src={{kubernetes.path}}/kubernetes/server/kubernetes-salt.tar.gz
    dest={{kubernetes.path}}/kubernetes/cluster
    copy=no

- name: move saltbase directory outside the unarchive directory
  shell: mv {{kubernetes.path}}/kubernetes/cluster/kubernetes/saltbase {{kubernetes.path}}/kubernetes/cluster
  register: result
  failed_when: "'Directory not empty' not in result.stderr and 'true' in result.failed"

- name: Delete empty directory
  file: >-
    path={{kubernetes.path}}/kubernetes/cluster/kubernetes
    state=absent

- name: Setup default configuration
  copy: >
    src=config-default.sh
    dest={{kubernetes.path}}/kubernetes/cluster/ubuntu
    mode="0755"
    force=yes

- name: Start cluster
  shell: KUBERNETES_PROVIDER=ubuntu ./kube-up.sh chdir={{kubernetes.path}}/kubernetes/cluster
  register: result
  failed_when: "'Text file busy' not in result.stdout and 'true' in result.failed"
Los pasos que sigue este playbook son:
- Las dos primeras tareas son necesarias para arrancar el servicio de Kubernetes. Este servicio necesita de acceso por ssh, y como lo estamos automatizando con Ansible, no queremos que se detenga la ejecución. Para ello creamos una par clave pública/privada que identifica a la máquina, y añadimos la clave pública al fichero authorized_keys.
- Nos descargamos la última release de Kubernetes y la descomprimimos en la variable {{kubernetes.path}}, que se encuentra en el fichero roles/kubernetes/defaults/main.yml.
- Una vez hecho eso, para el arranque del cluster necesitamos un certificado para que el master del cluster pueda actuar como un servidor https. Para ello generamos un certificado general y lo usamos para firmar los certifcicados de la máquina con el script make-ca-cert.sh que se encuentra en el directorio saltabse, que está comprimido por defecto. Lo descomprimimos y lo movemos al directorio correspondiente.
- Ya estaríamos listos para levantar el cluster, pero necesitamos la configuración que tenemos en el fichero config-default.sh dónde indicamos que solo se nos cree un nodo en la máquina virtual que sea master y minion a la vez.
- Dejando lo mejor para el final, ejecutamos el comando para levantar el cluster. Comprobamos como antes del comando tenemos que indicarle previamente el provider a utilizar, ubuntu en nuestro caso. En esta tarea usamos la gestión de errores que nos ofrece Ansible. Esta característica está explicada en este tutorial.
Ahora vemos el fichero defaults/main.yml que contiene las variables por defecto que se van a utilizar en el rol:
roles/kubernetes/defaults/main.yml
kubernetes:
    path: /opt
    temporal_path: /tmp
Por último, en el fichero main.yml del directorio meta dentro del rol, tenemos las dependencias que tiene el este rol. En el tutorial mencionado anteriormente también hablo sobre la gestión de dependencias de los roles de ansible.
roles/kubernetes/meta/main.yml
---

# file: roles/kubernetes/kubernetes/meta/main.yml

dependencies:
    - {role: docker}
3.2. Docker
Nos queda crear las tareas pertenecientes al rol docker, que instalarán la última versión de Docker.
roles/docker/tasks/main.yml
---

# file: roles/docker/tasks/main.yml

- include: docker_prerequisites.yml
- include: docker_setup.yml
- include: docker_install.yml
Como bien dice, estos ficheros contienen las tareas encargadas de los prerequisitos de la instalacción, la configuración y la instalación propiamente dicha.
roles/docker/tasks/docker_prerequisites.yml
---

# file: roles/docker/tasks/docker_prerequisites.yml

- name: install Ensure that apt works with https method and CA certificates are installed
  apt: >
    name="{{ item }}"
    state=latest
    update_cache=yes
  with_items:
      - apt-transport-https
      - ca-certificates

- name: Add GPG key
  command: sudo apt-key adv --keyserver hkp://p80.pool.sks-keyservers.net:80 --recv-keys 58118E89F3A912897C070ADBF76221572C52609D

- name: Copy docker.list
  copy: >
    src=docker.list
    dest=/etc/apt/sources.list.d
    force=yes

- name: Install appsrmor package
  apt: >
    name=apparmor
    update_cache=yes
roles/docker/tasks/docker_setup.yml
---

# file: roles/docker/tasks/docker_setup.yml

- name: create docker group
  group: name=docker state=present

- name: create docker user
  user: name=docker group=docker state=present
roles/docker/tasks/docker_install.yml
---

# file: roles/docker/tasks/docker_install.yml

- name: install docker
  apt: >
    name="docker-engine"
    state=latest
    update_cache=yes


- name: ensure docker is running and enabled as service
  become_user: docker
  service: name=docker state=started enabled=yes
Con esto ya tendríamos preparado el entorno y la configuración.
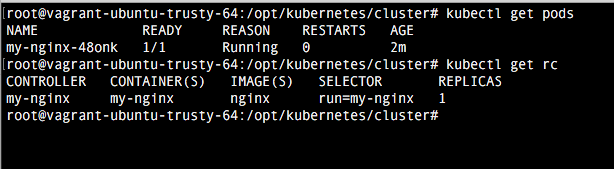
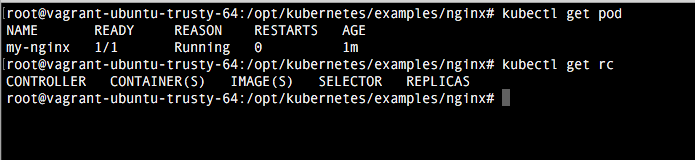
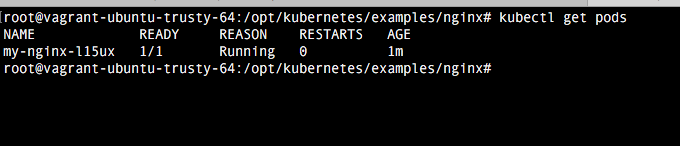
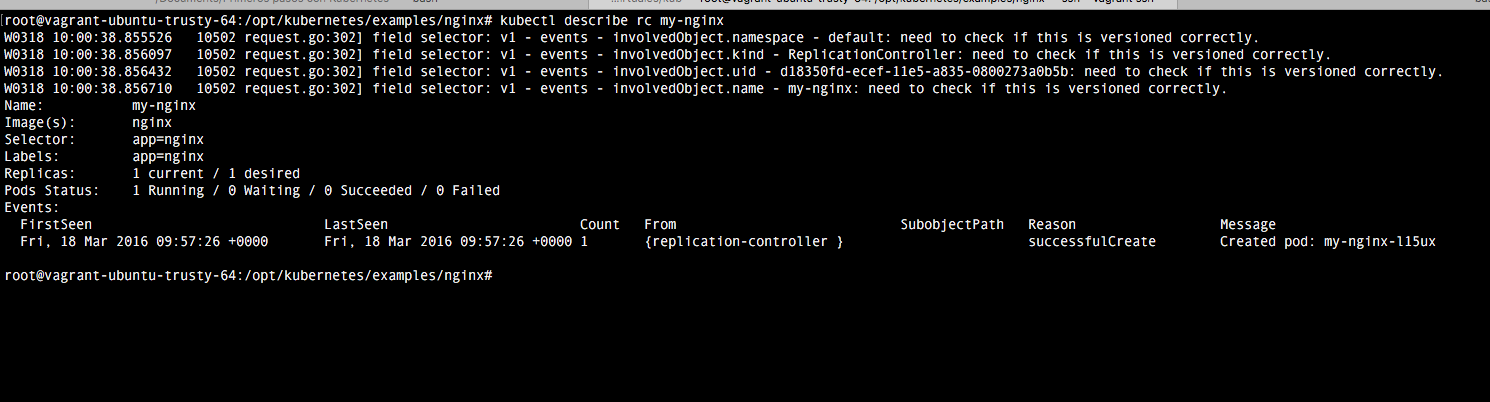
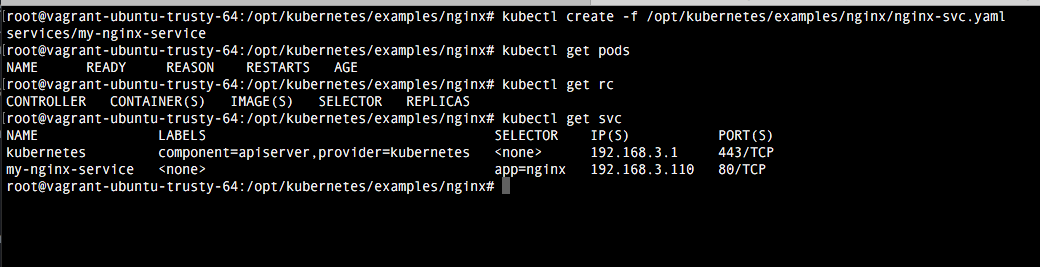
4. Comprobación
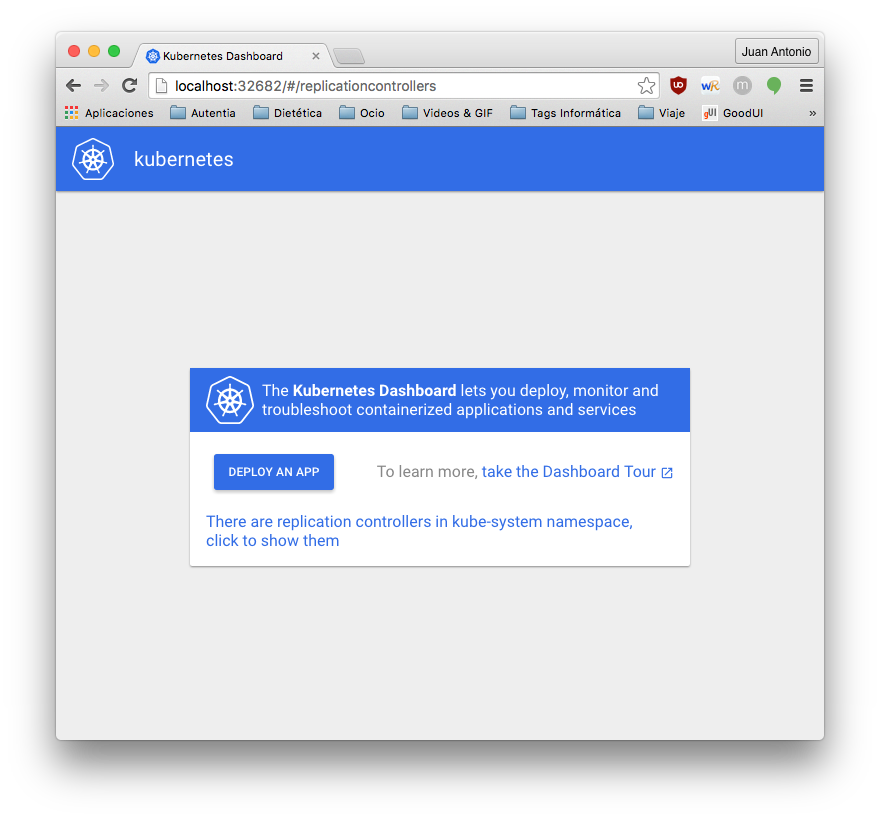
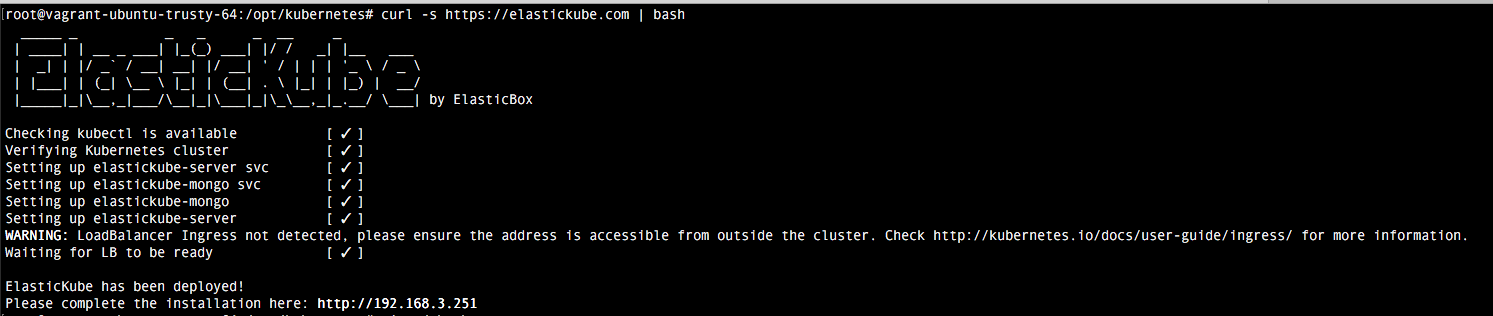
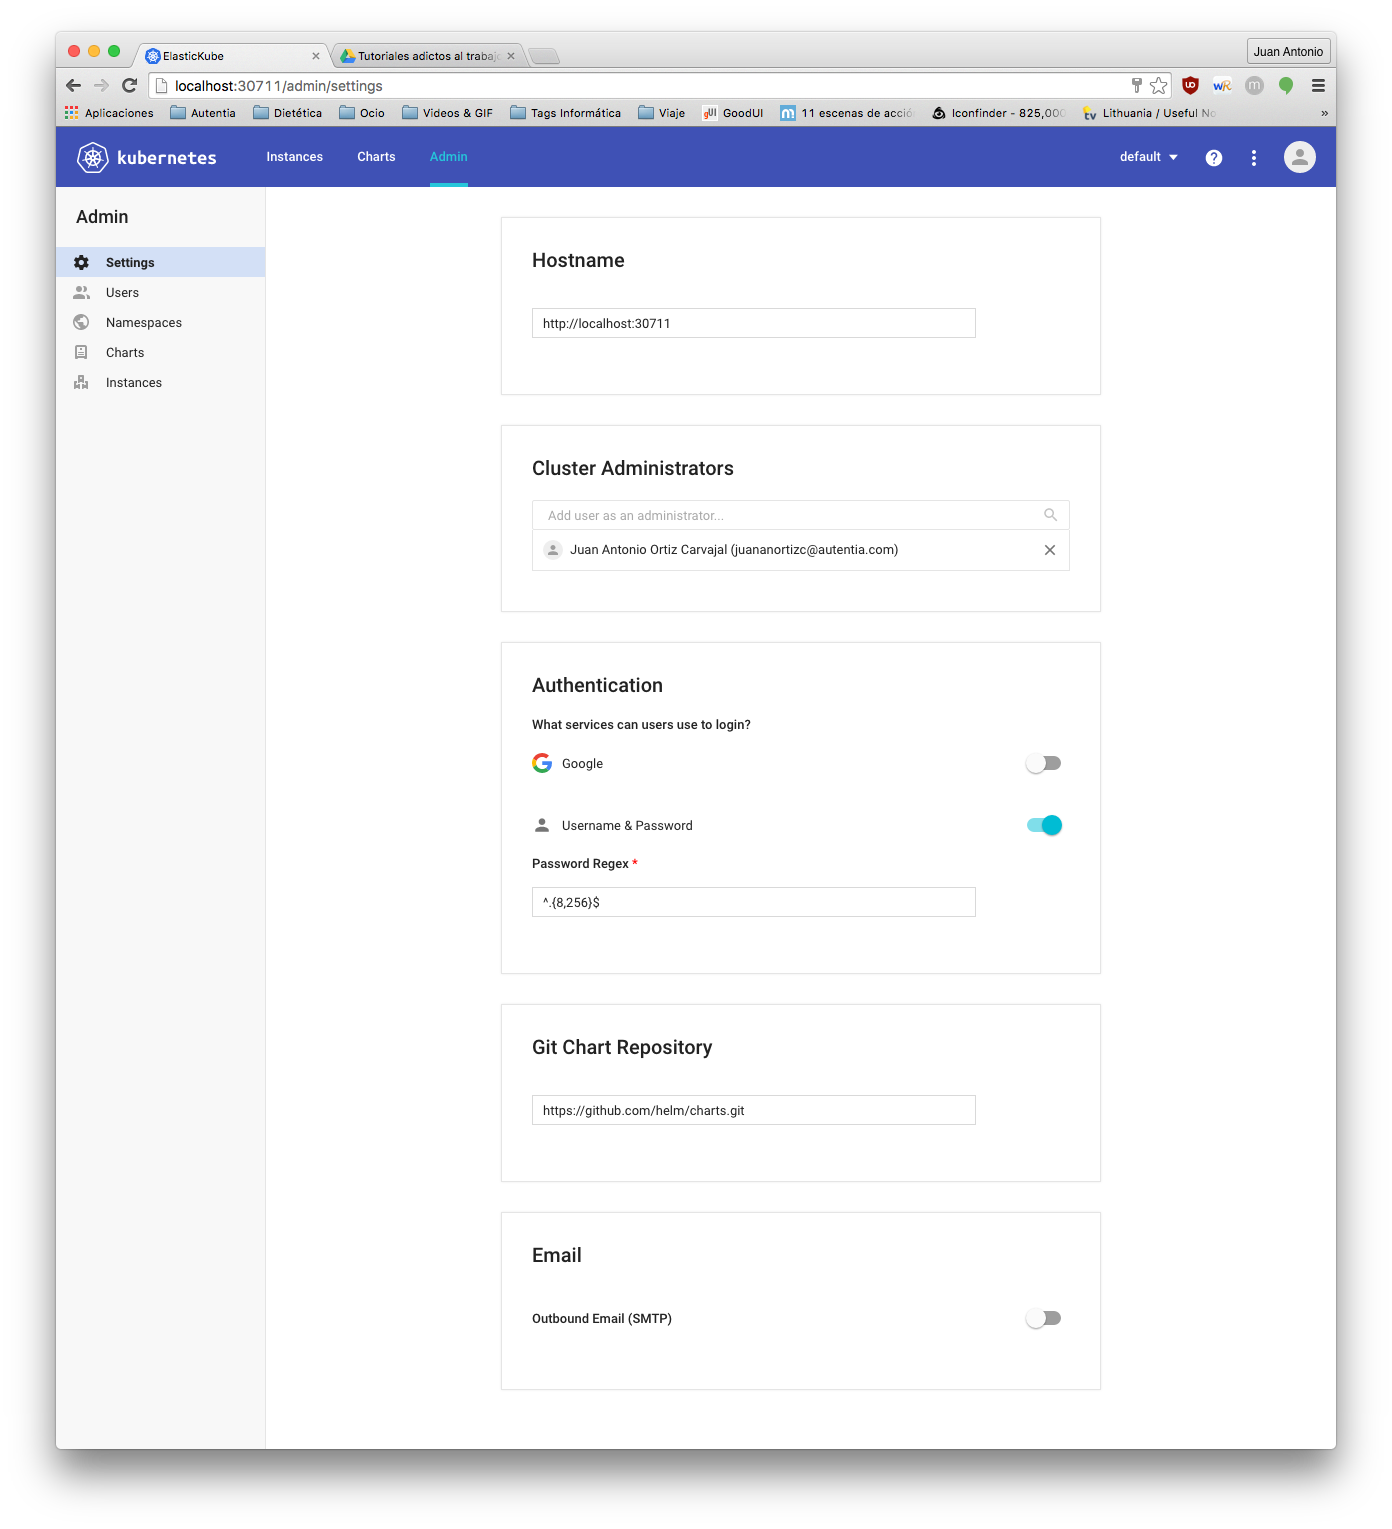
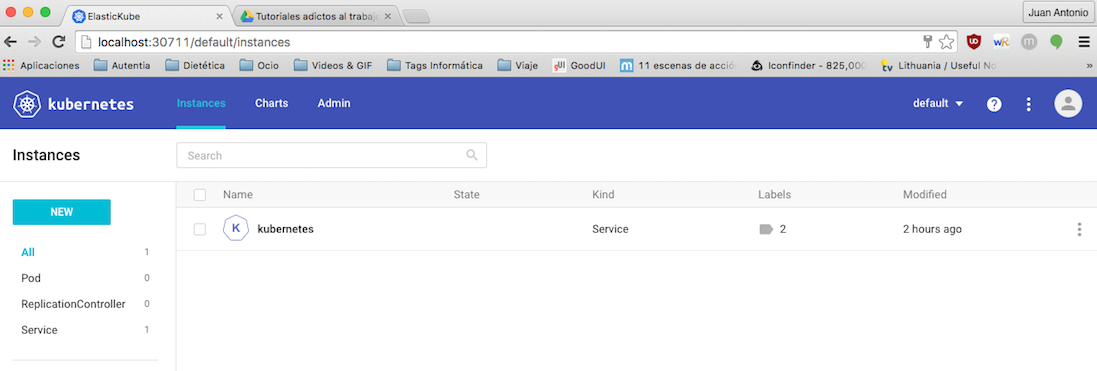
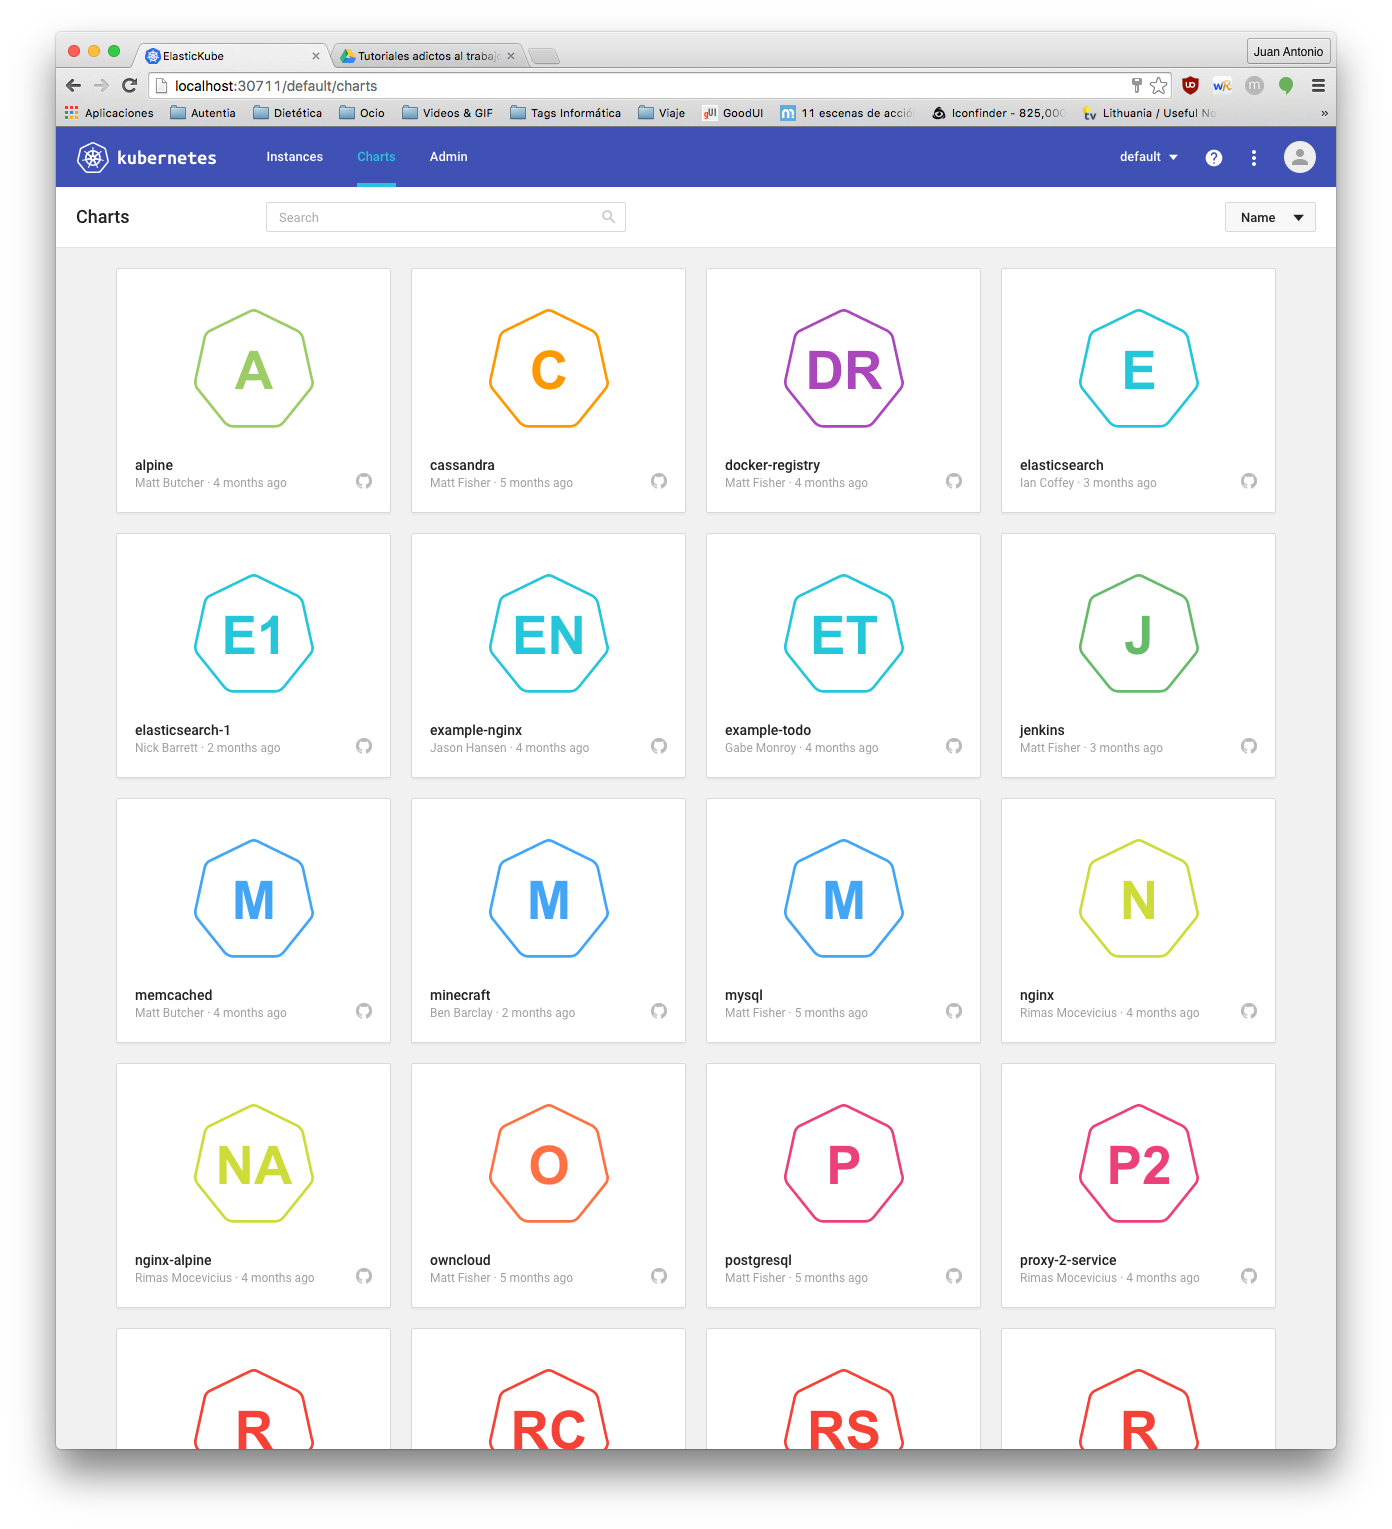
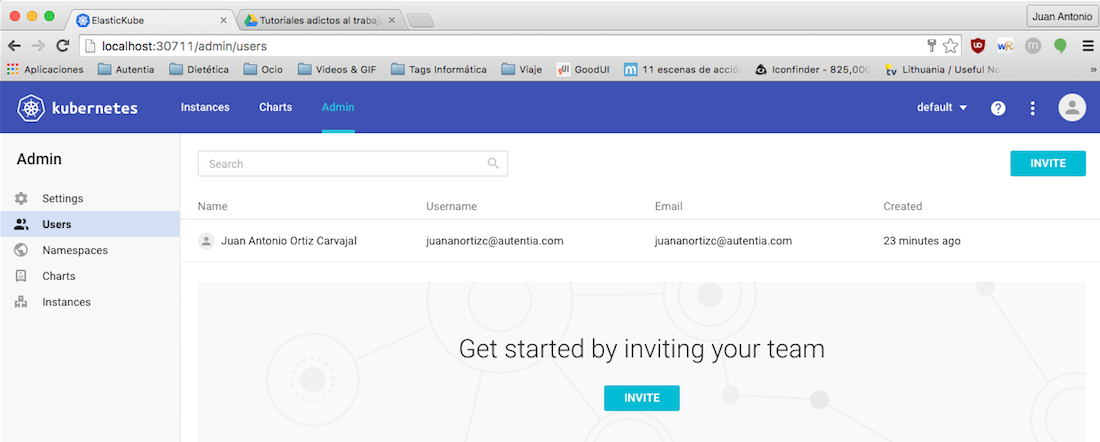
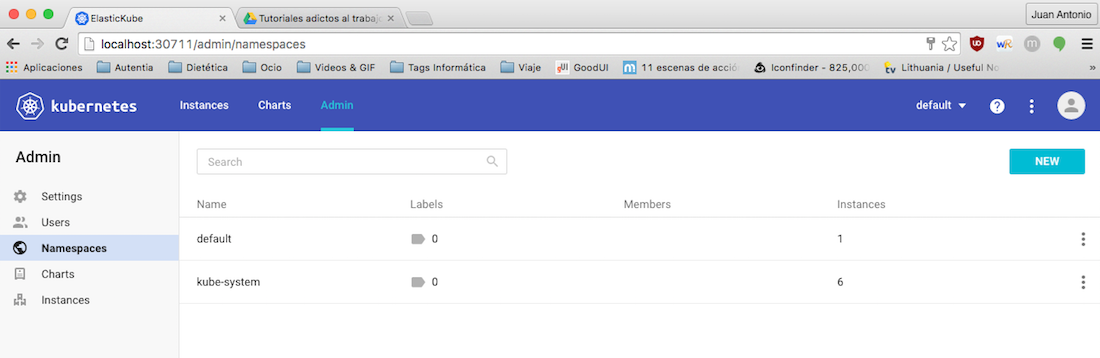
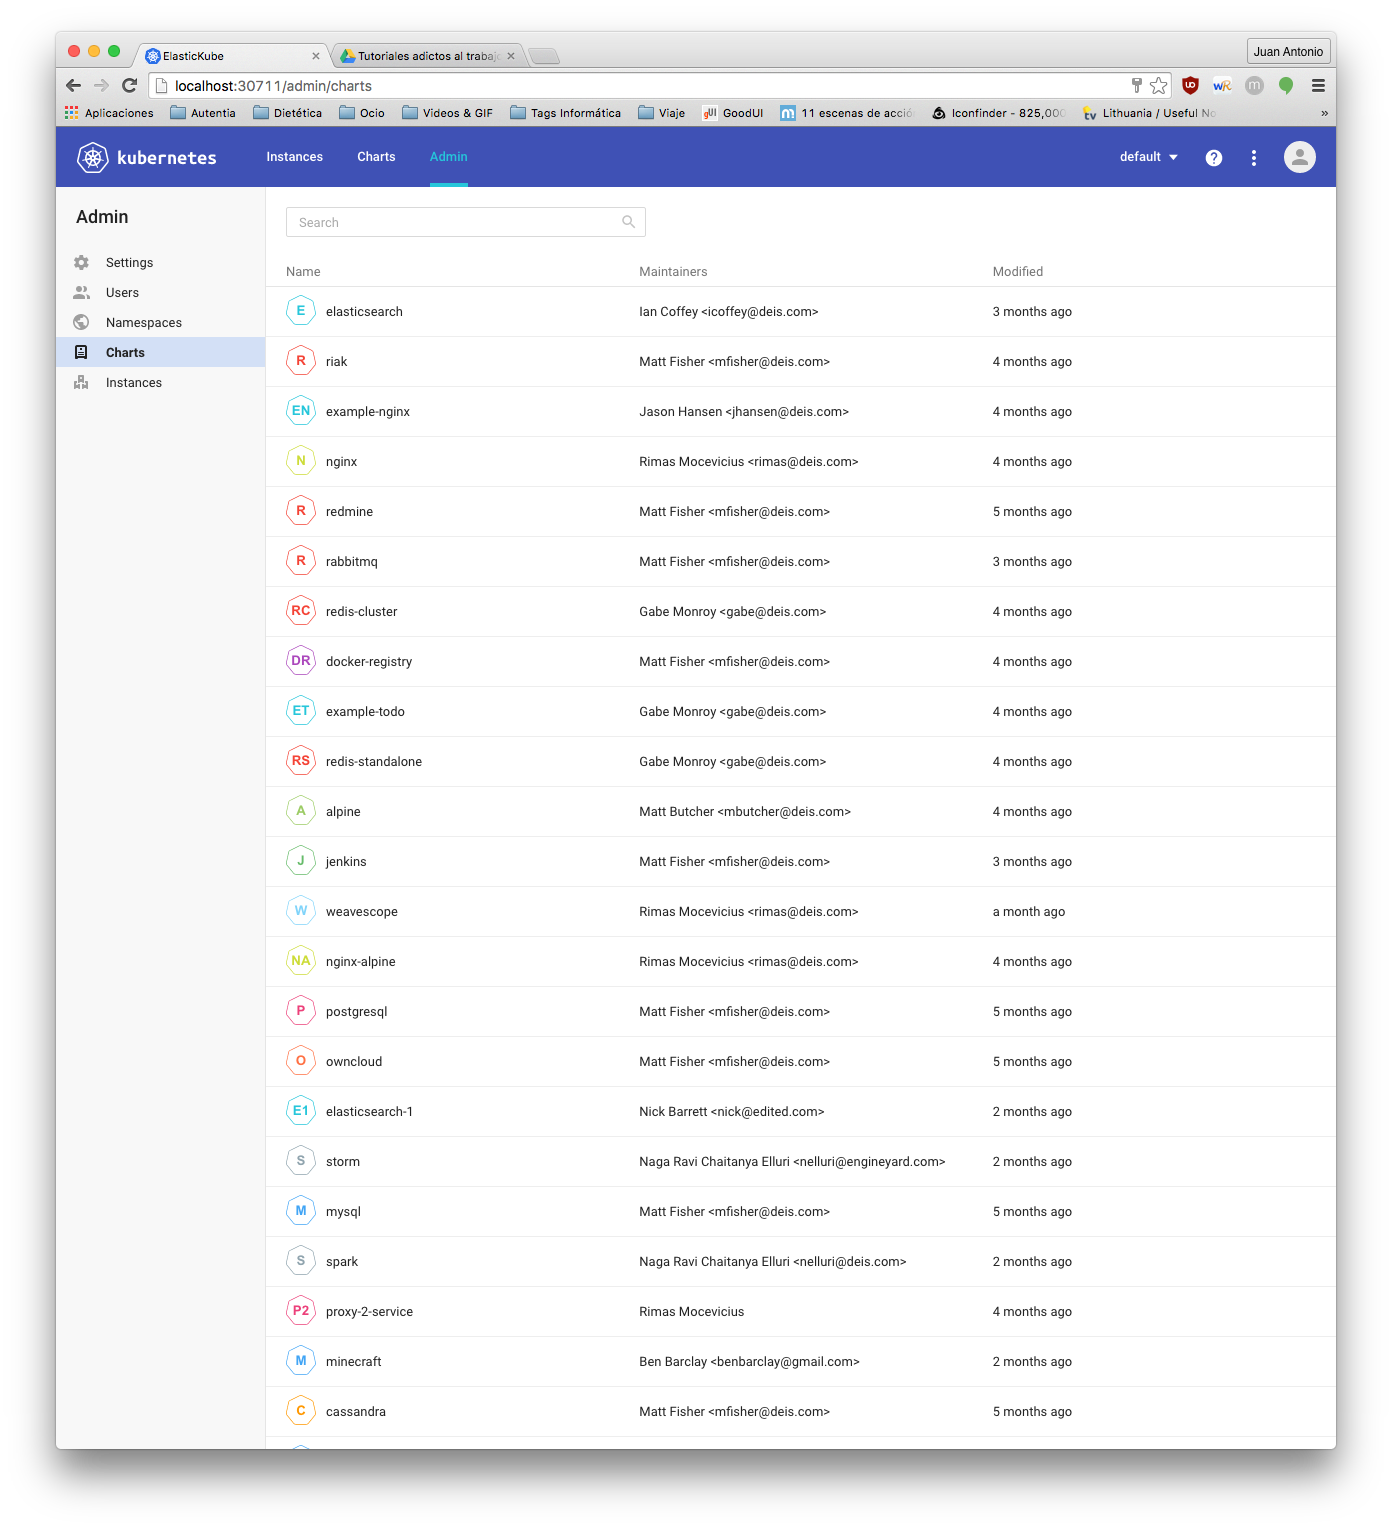
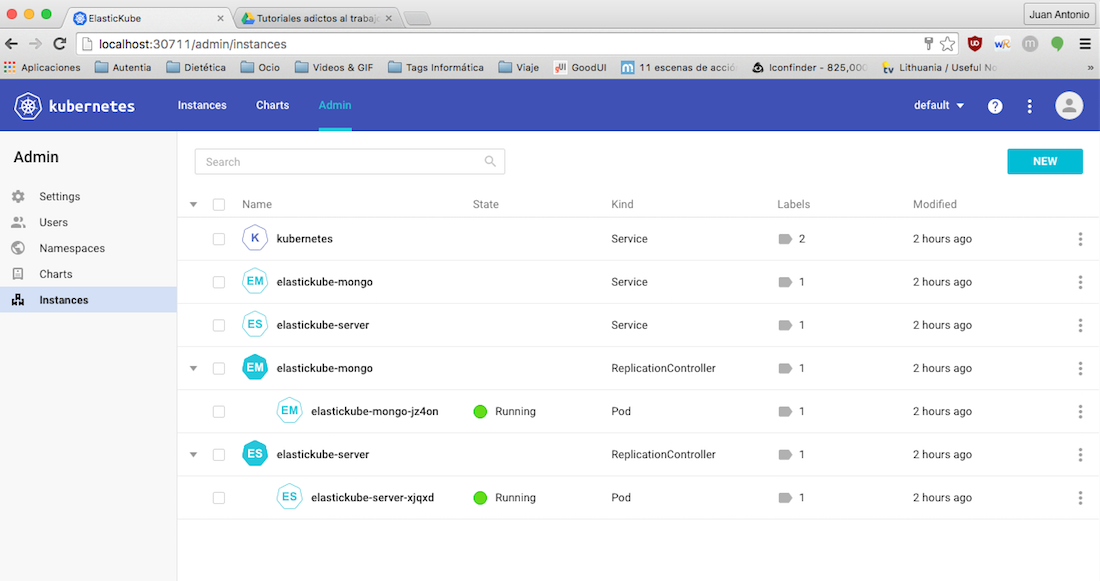
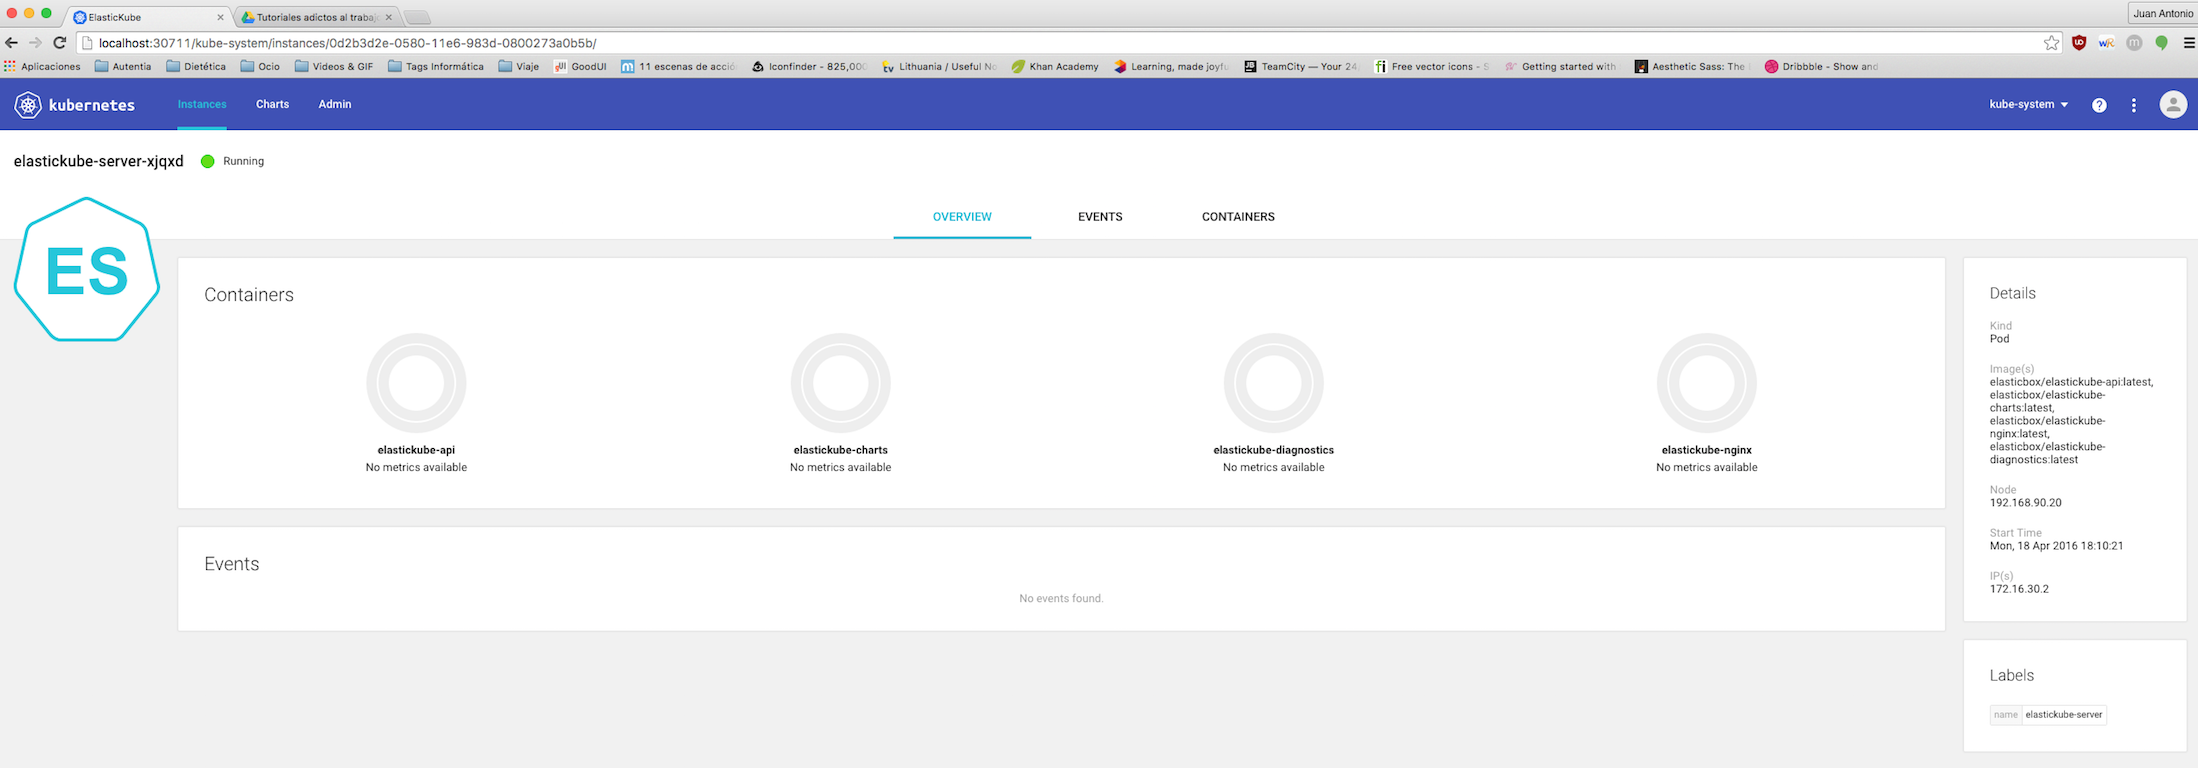
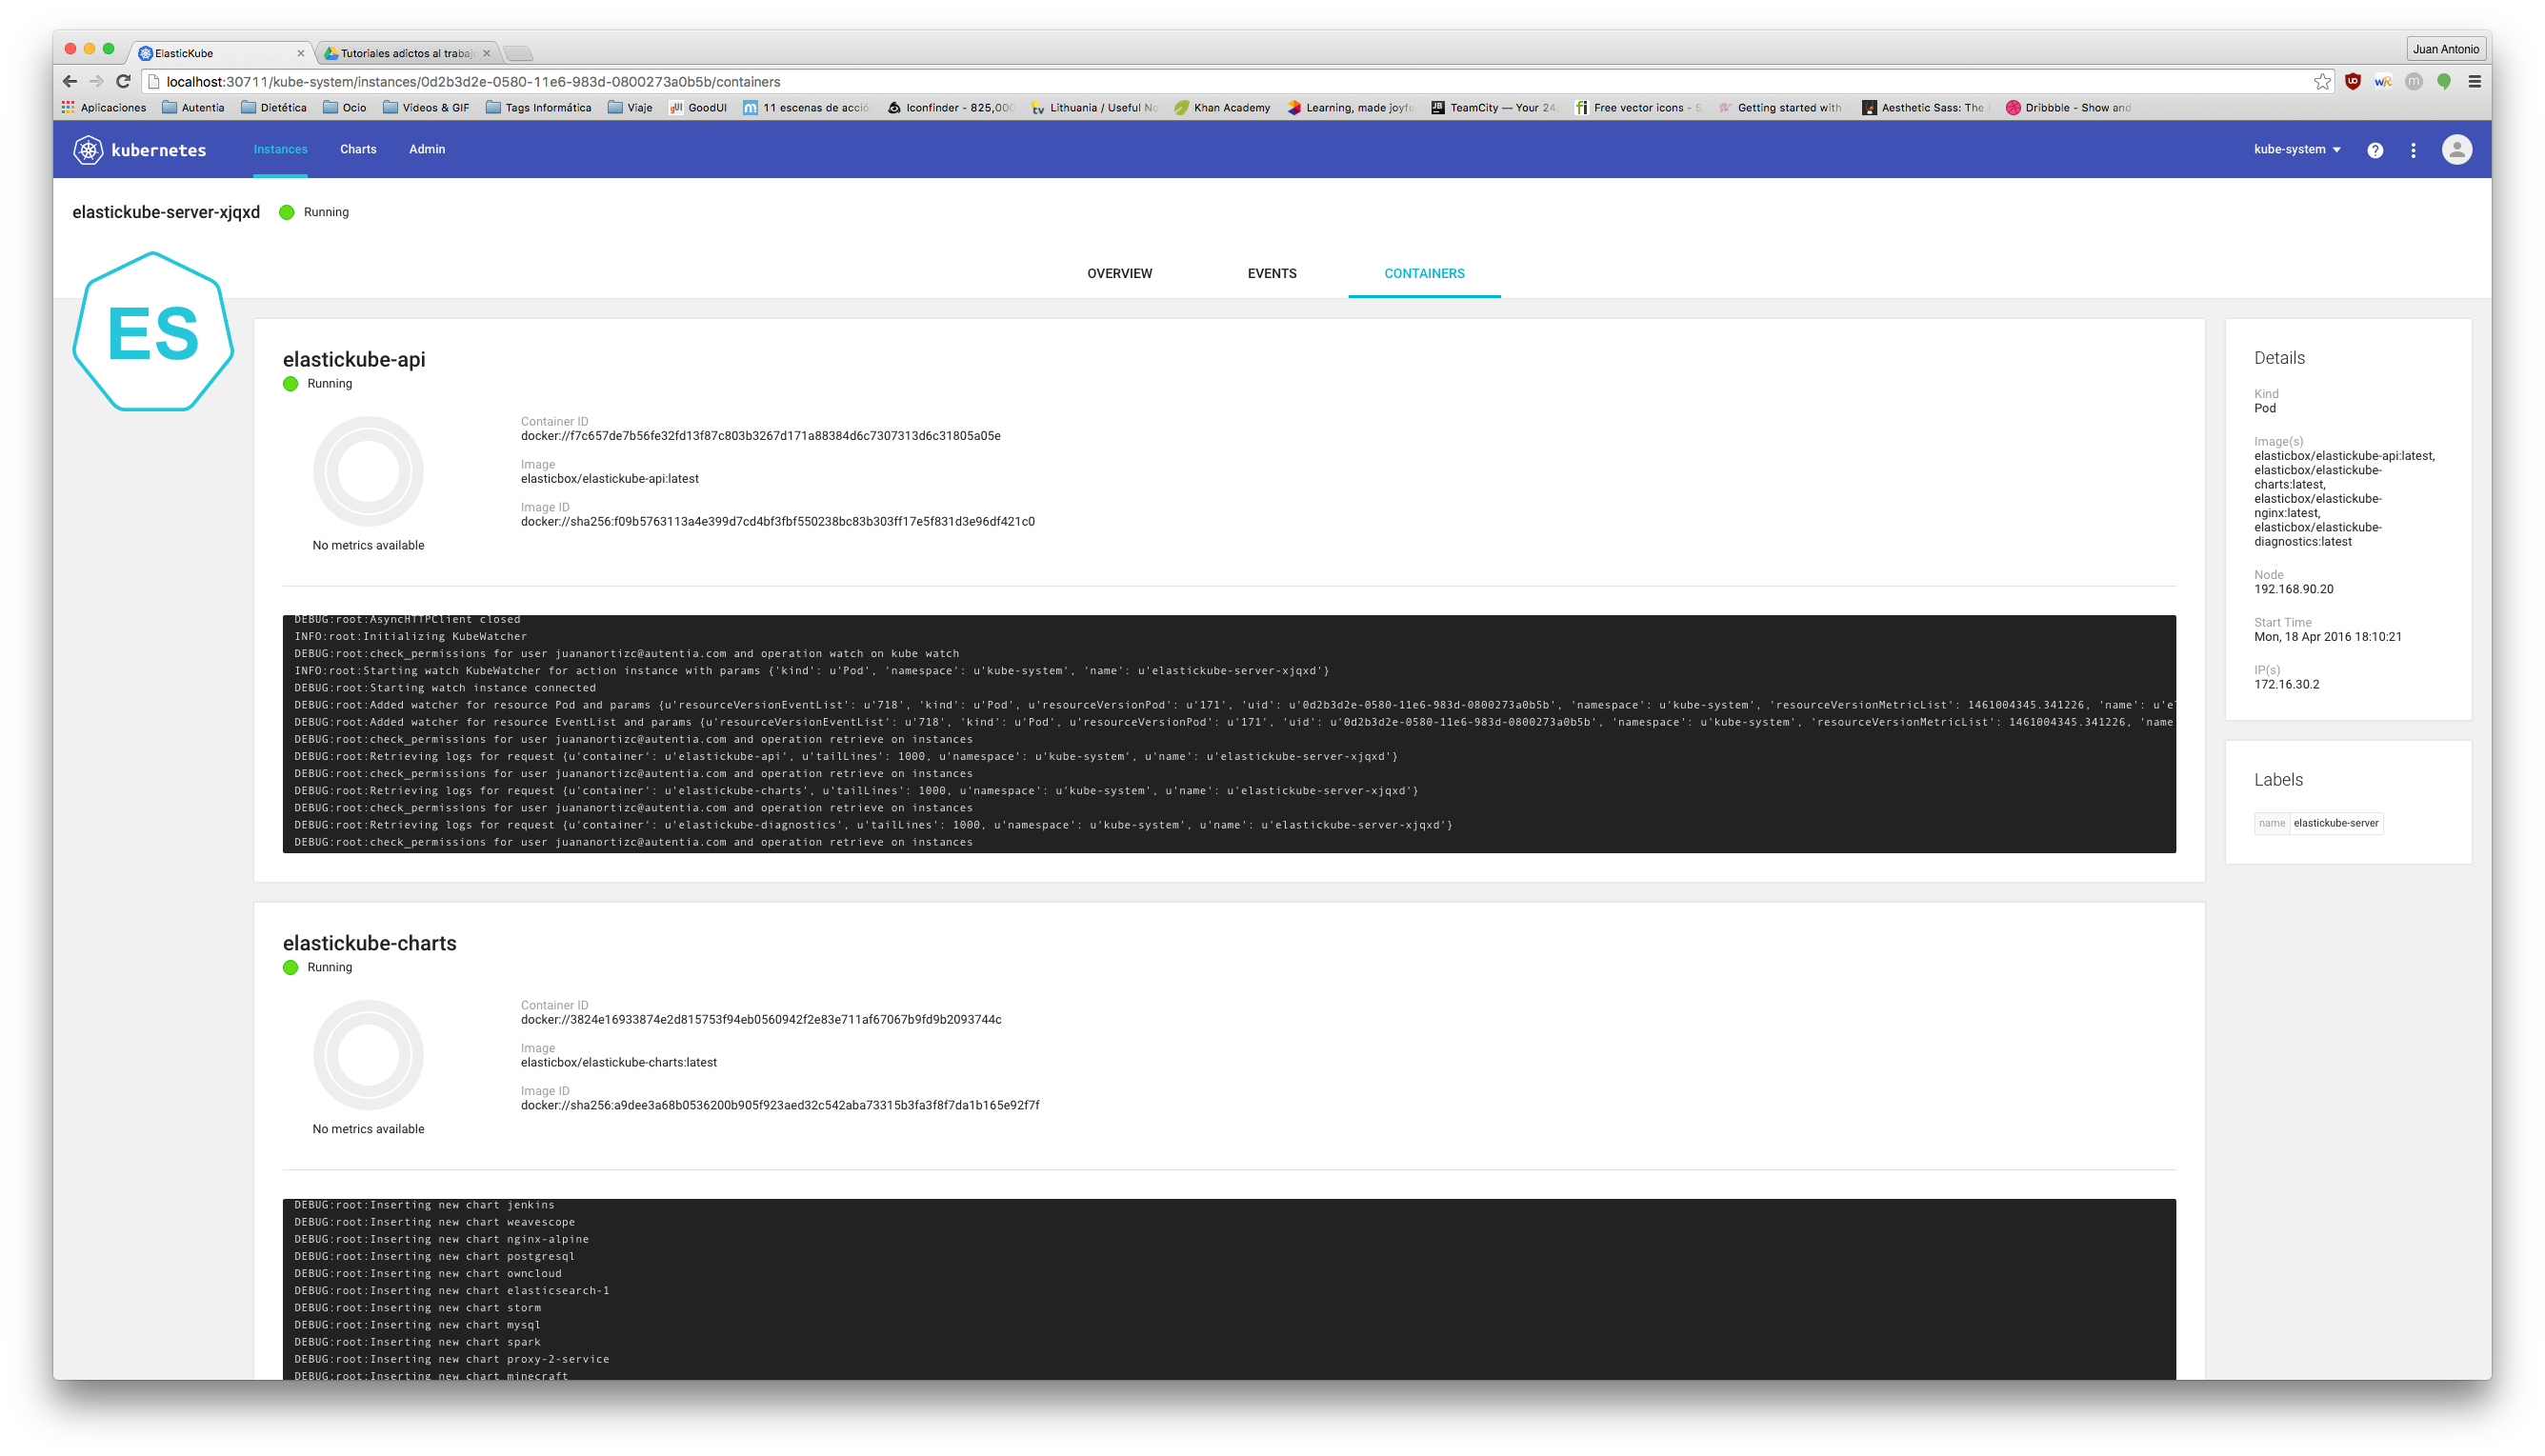
Una vez realizada la configuración, basta con ejecutar el comando vagrant up para comprobar como se despliega. Una vez termine vagrant, comprobamos como accediendo a la url localhost:8080 tenemos la indicaciones del api rest. El dashboard viene deshabilitado por defecto, pero veremos como habilitarlo en el próximo tutorial.
5. Conclusiones
Comprobamos una vez más como gracias a Ansible crear una infraestructura compleja como instalar Kubernetes en ubuntu puede ser hecho con un solo comando. Puedes ver los ficheros creados en el tutorial en mi repositorio de github.